Anyone reading the news must be aware that we cannot keep using plastic, to the extent that we have been, without destroying our planet. Here at coast we have been experimenting with alternatives to using cling film to cover foods. My mother uses saucers to cover bowls of food, however, this is not always a practical solution for smaller items, such as half an apple or lemon.
There are lots of recipes for food wraps online – most suggest that as well as beeswax you also use pine rosin and jojoba oil. Pine rosin is very sticky and its addition makes the food wrap feel more like plastic, but it’s not easy to get hold of and I find the wrap is just as effective using beeswax alone. Beeswax and jojoba oil both have antibacterial qualities that help keep food fresh, but beeswax works just as well on its own. Beeswax wrap can last for up to a year with proper care and regular usage.

When it has worn thin, it can be cut into strips for use as fire-lighters or be composted. The warmth of your hands help to shape the cloth as you cover a piece of fruit, a loaf of bread or a bowl. It can’t be used in a microwave but it can be frozen, though it needs to be checked after about three weeks. The only foods it can’t be used with are raw meats and fish.
After use, the food wrap should be washed in warm soapy water, rinsed out and then hung to dry. When choosing the fabrics to create the cloth, remember that beeswax is yellow and it will colour the fabric.
What you need
• Oddments of closely woven cotton cloth
• Pinking shears
• Baking tray
• Baking parchment
• Beeswax
• Cheese grater
• Oven
• Narrow decorator’s paintbrush
• Coat hanger
Step 1
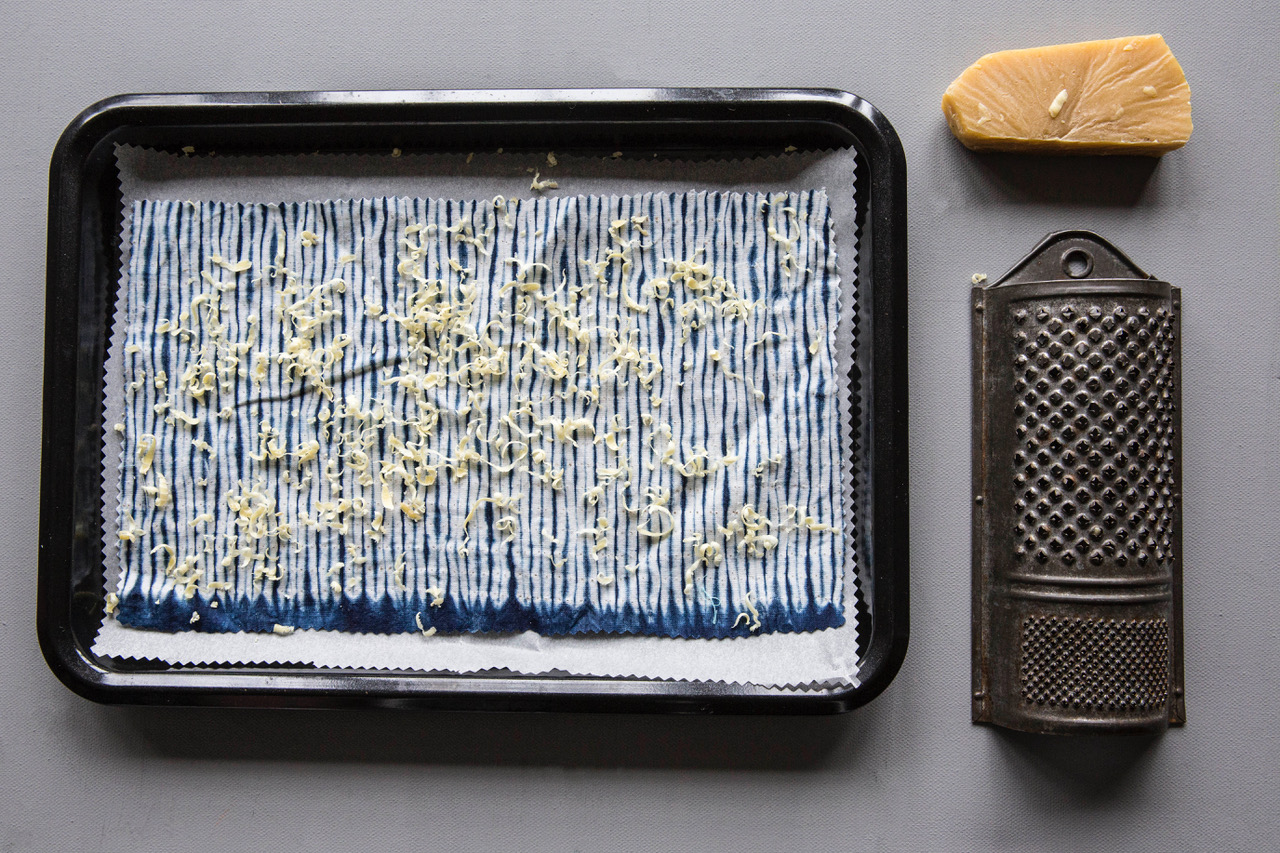
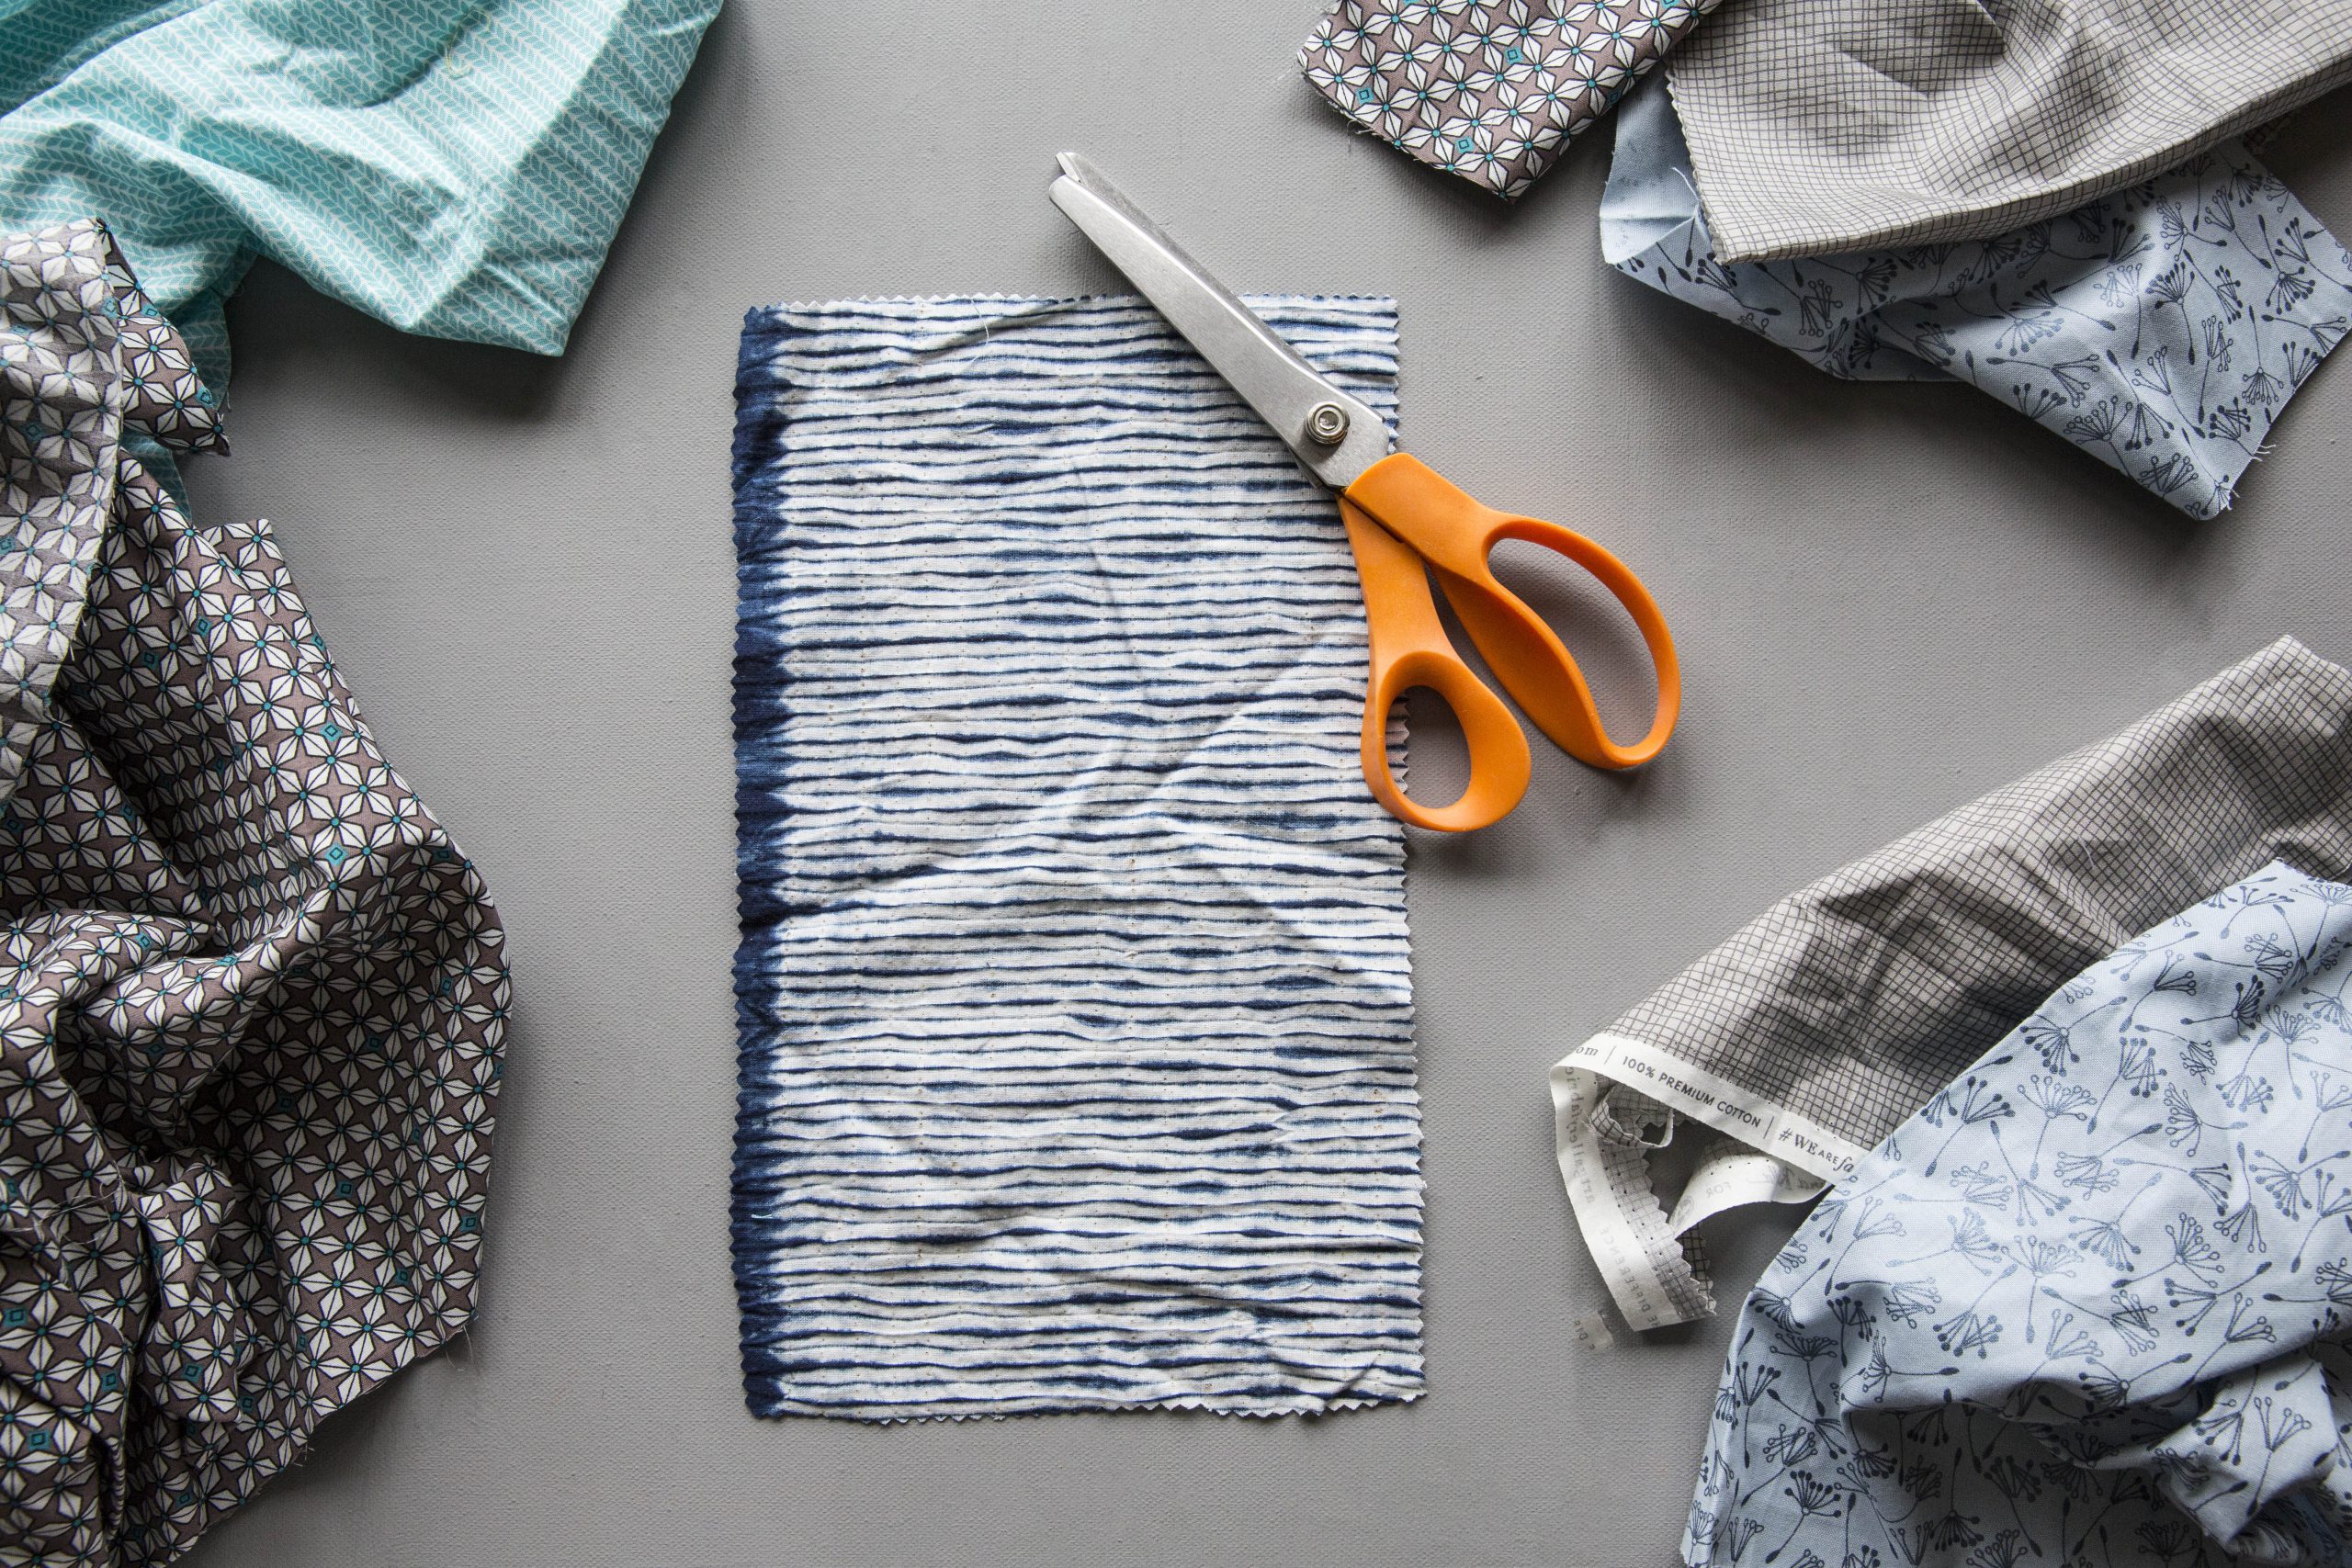
Choose closely woven cotton fabric, similar to sheeting. I used fabric oddments left over from sewing projects. Cut with pinking shears and place on your baking tray on top of a piece of baking parchment.
Step 2
Grate the wax through the medium sized holes on your grater onto the cloth. Spread evenly with your fingers. Place in the oven at 100degrees C for between 5-10 minutes. Keep an eye on the wax and when it melts remove the cloth from the oven.

Step 3
Using a narrow decorators paint brush, spread out the wax so the cloth is covered evenly.

Step 4
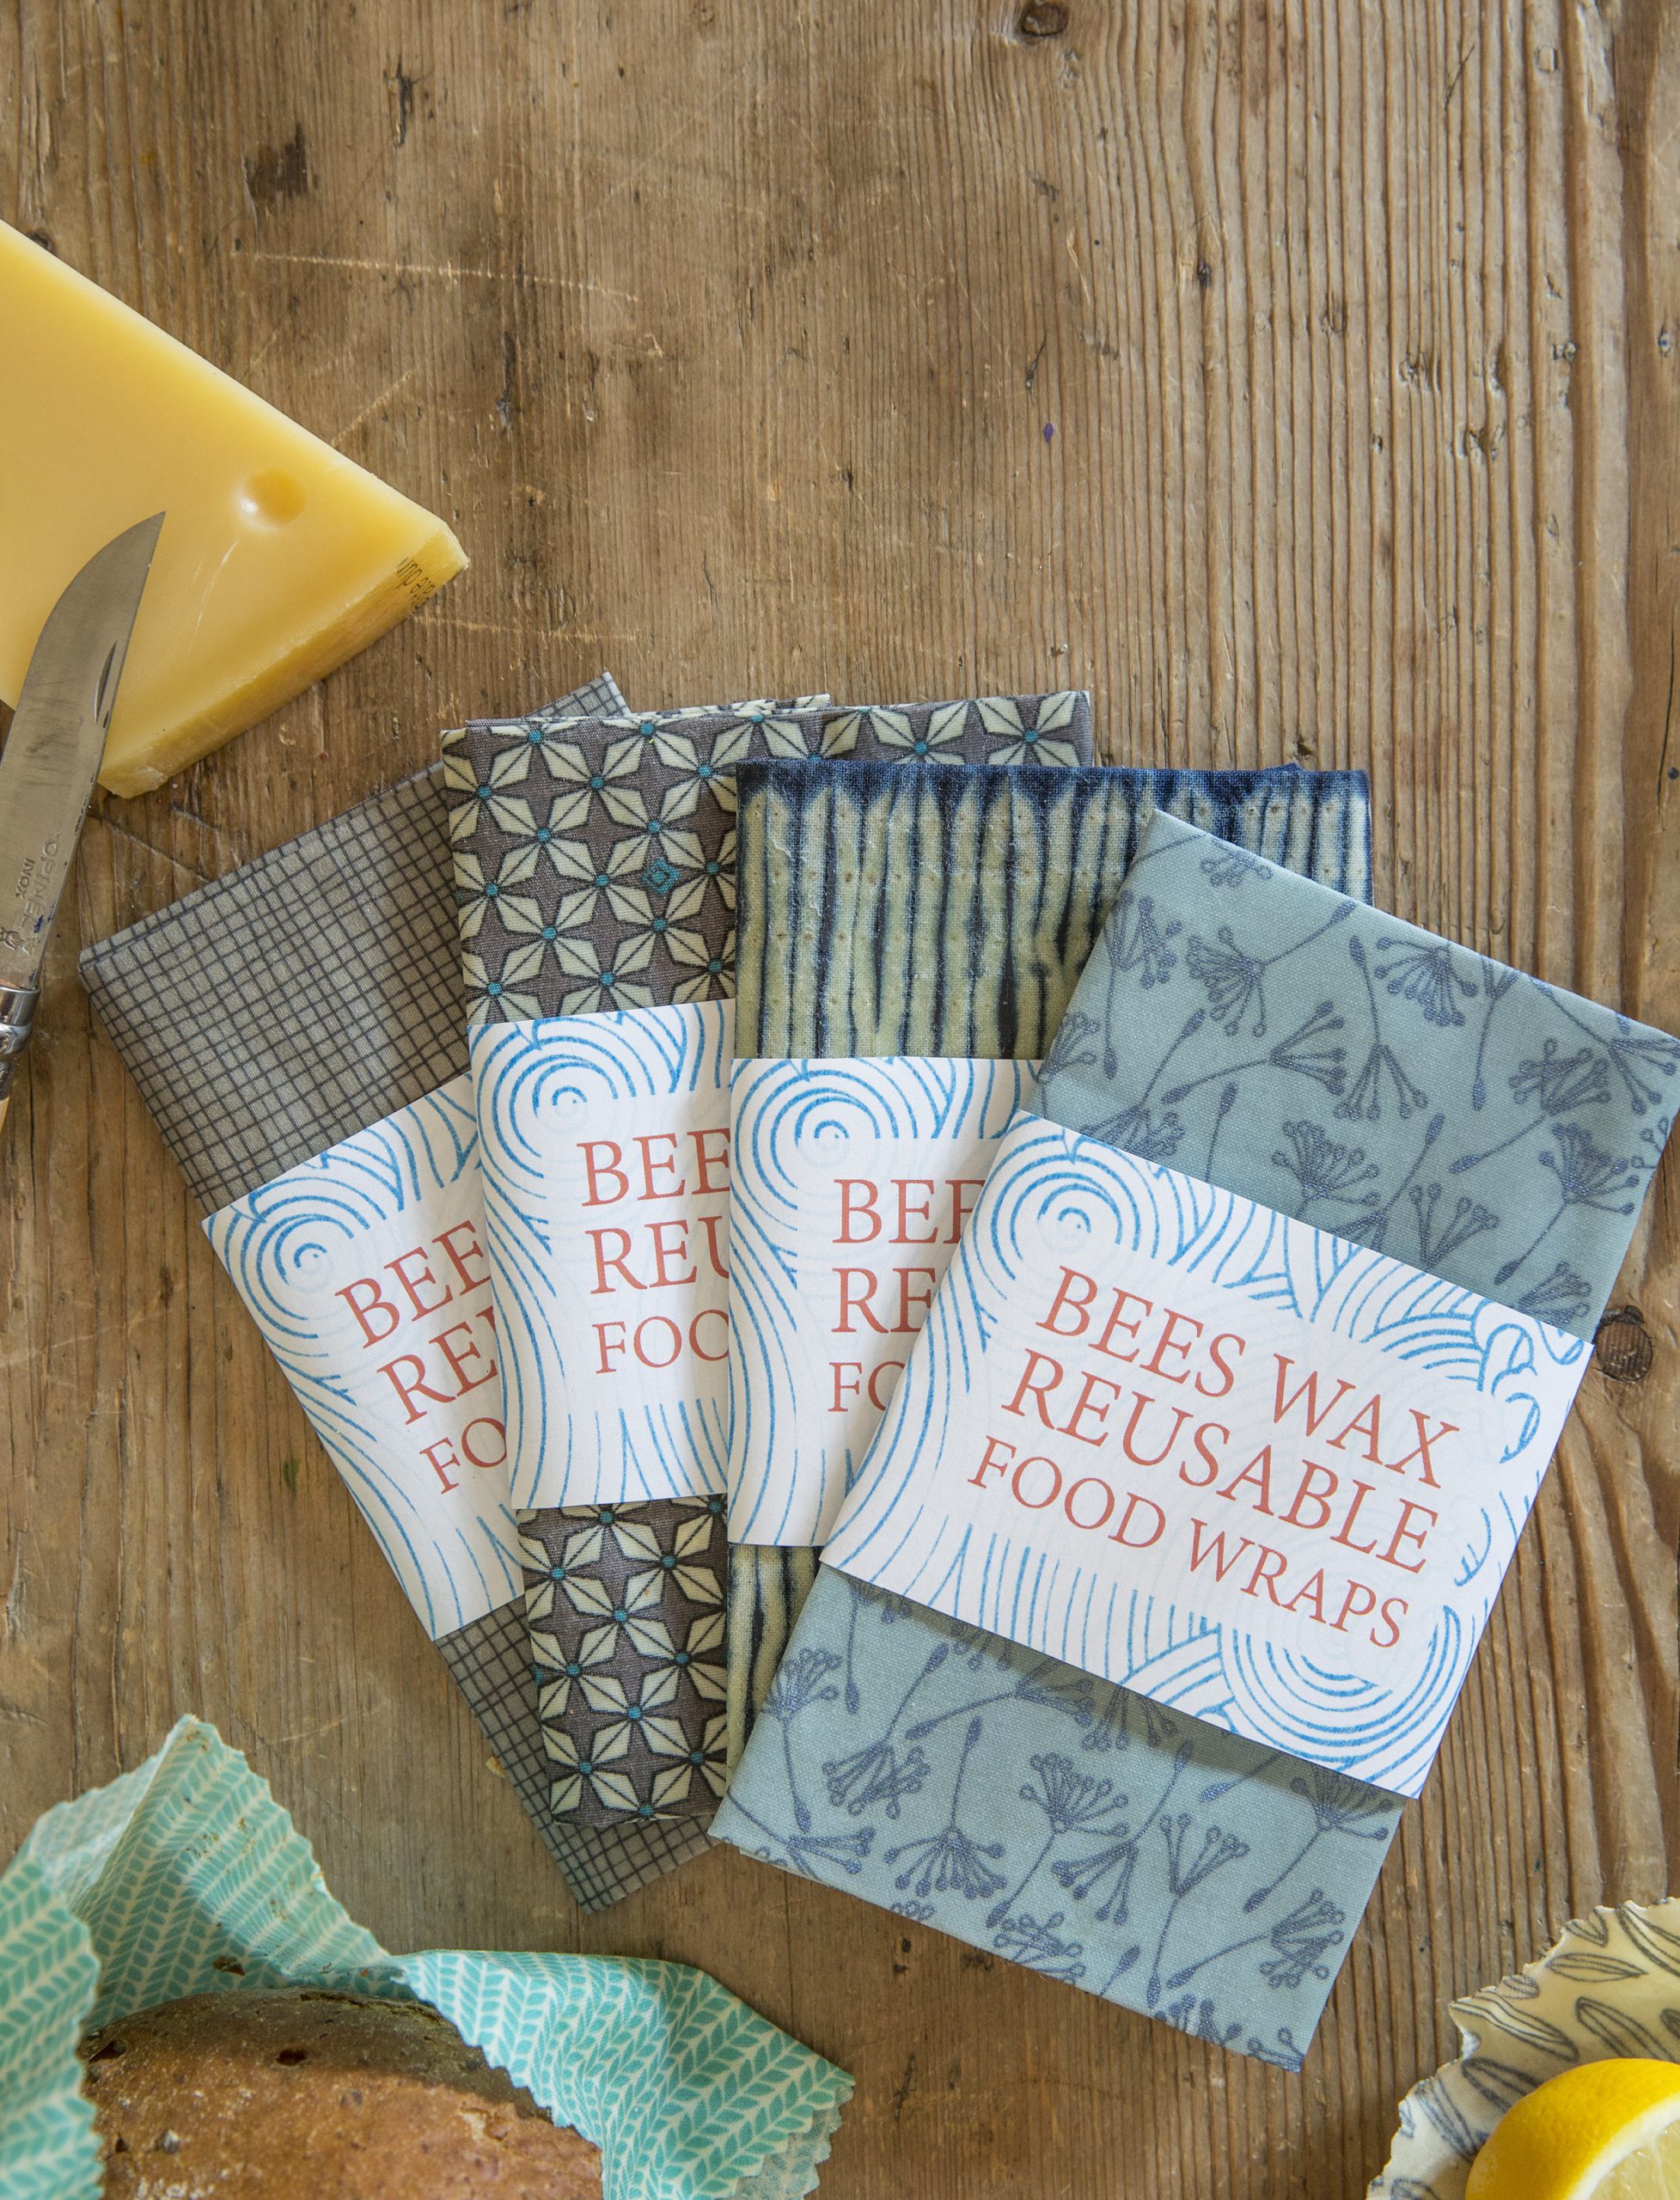
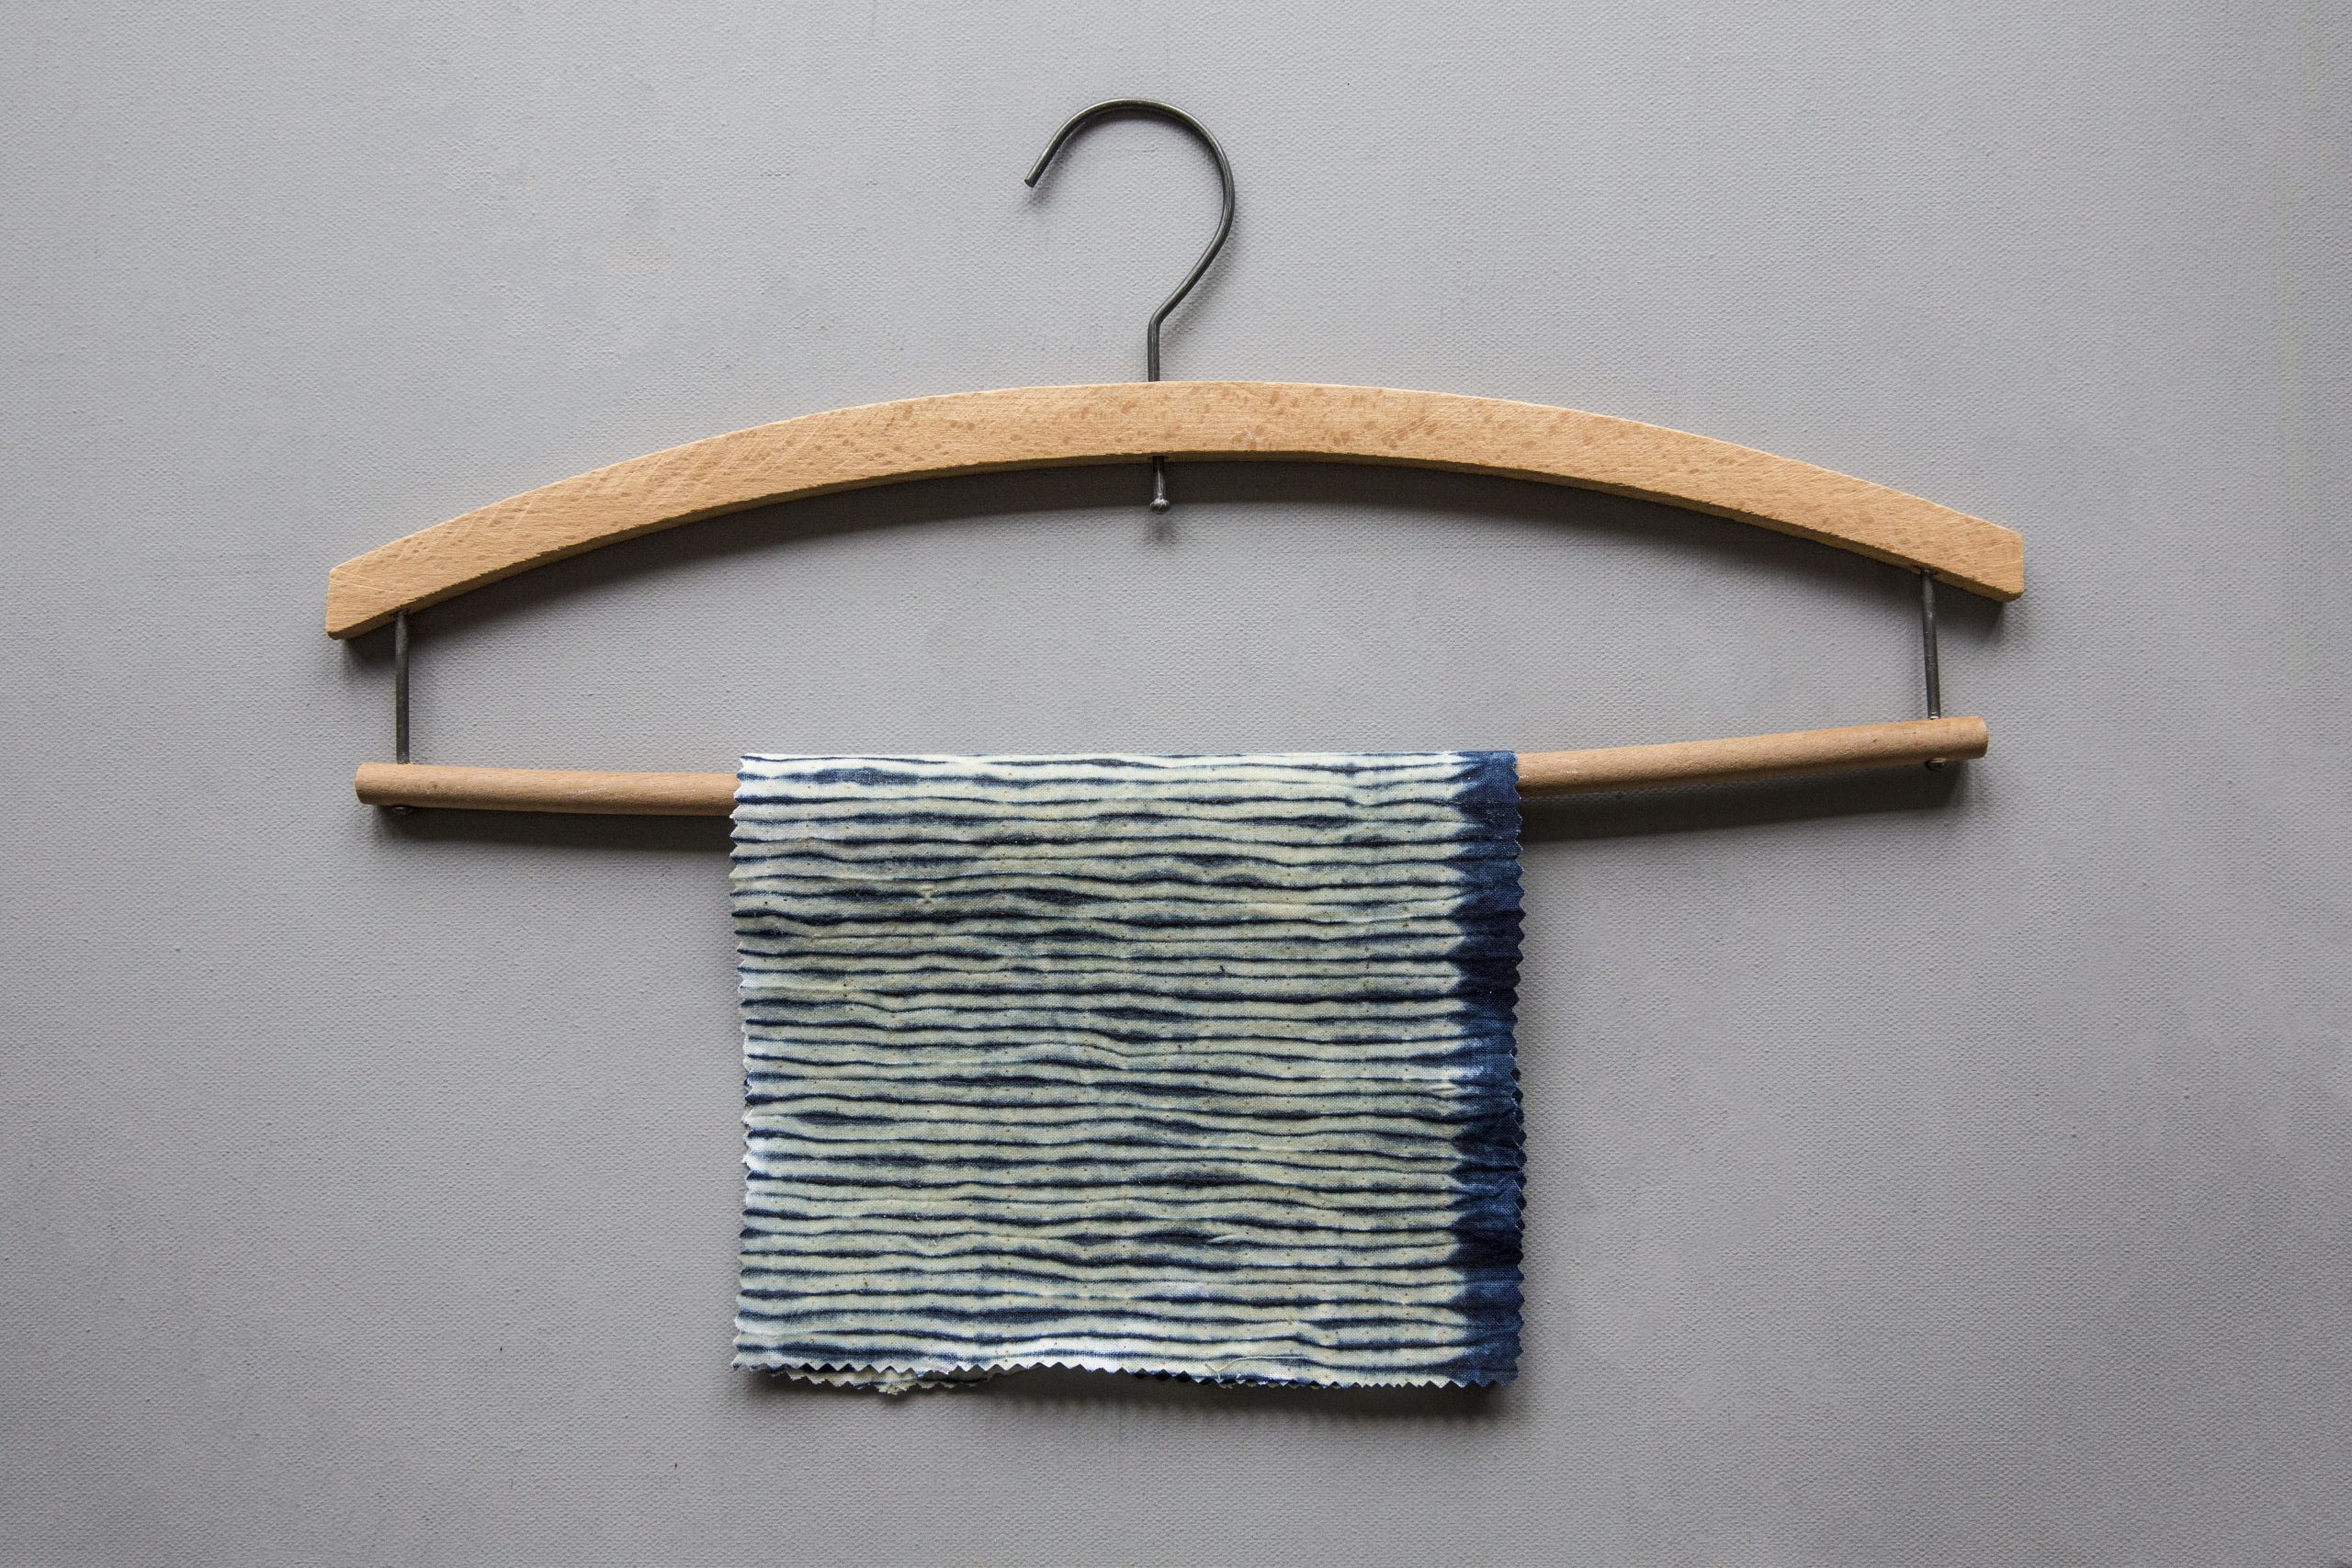
Hang the fabric over a coat hanger to dry. Wash the cheese grater and the paintbrush under hot water to remove any wax. When the fabric is dry, fold it and if you are giving it as a present make a paper wrap to go round it.

About Juliet Bawden
Trained in textile design, Juliet has a great passion for all things fabric – particularly dyeing, colour and the way it affects our lives. Having grown up in Deal on the Kent coast, her other great love is the sea. Juliet has written a number of craft, style and design books, covering a wide range of disciplines. For more information, visit creativecolour.org.